Introduction
The Autofill feature is a crucial part of improving user experience on your iPhone. This helpful tool not only saves time but also reduces errors by automatically filling in your email addresses and other contact information in various apps and websites. Knowing how to set up, use, and troubleshoot Autofill can significantly enhance your iPhone experience.
Setting Up Autofill for Your Email Address
Whether you have a brand-new iPhone or are updating your existing device, setting up Autofill is straightforward.
- Open the Settings app on your iPhone.
- Scroll down and tap on ‘Passwords & Accounts’.
- Select ‘AutoFill Passwords’.
- Ensure the toggle switch for ‘AutoFill Passwords’ is turned on.
- Under ‘Allow Filling From’, make sure you have chosen your iCloud Keychain.
Next, you’ll want to add your email address:
- Still in the ‘Settings’ app, scroll down and tap on ‘Mail’.
- Tap ‘Accounts’ and select your email account.
- Make sure your email account is turned on.
By following these steps, Autofill should instantly recognize your email addresses whenever you start typing in an input field, making it much quicker to fill out forms.
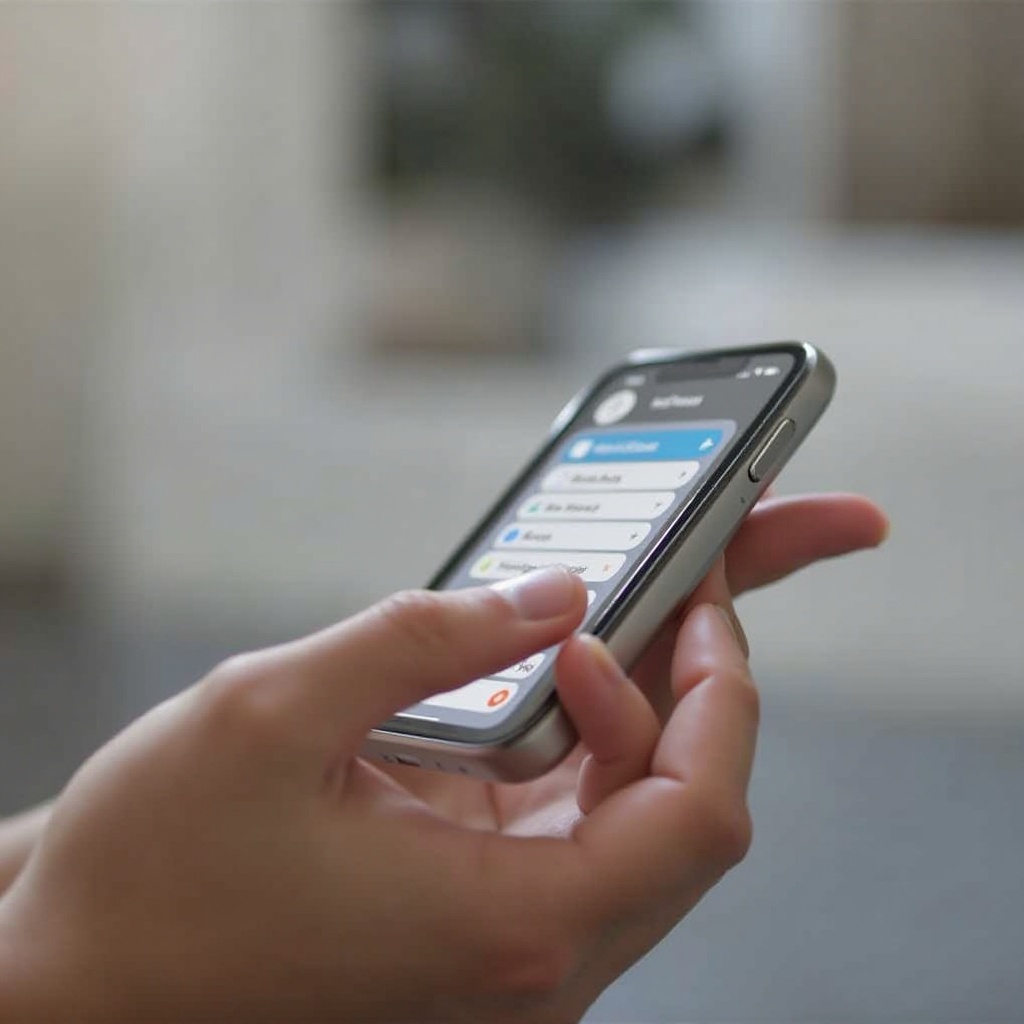
Using Autofill with Various Apps
Once you have set up Autofill, you can enjoy its benefits across multiple applications. Autofill isn’t limited to your browser. Many iPhone apps use Autofill for easier login and information entry.
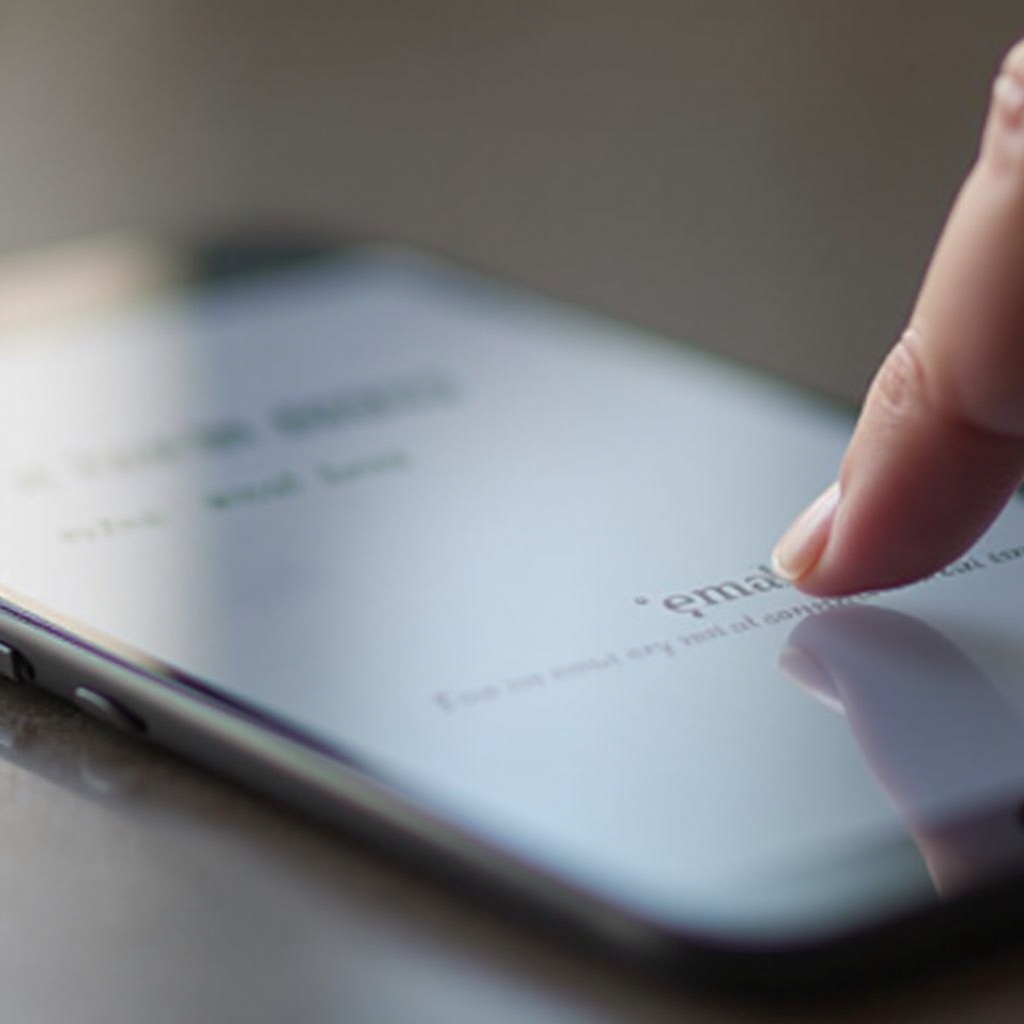
- Safari: When using the Safari browser, simply tap on any email field, and a ‘Fill Email’ suggestion will appear just above the keyboard. Tap on it, and it will automatically populate the field with your email address.
- Third-Party Browsers: Apps like Google Chrome also support Autofill. Enable Autofill under the app’s settings to experience the same convenience as Safari.
- Form Filling: When filling out forms in apps or online, Autofill will suggest your email addresses. Simply click on the suggestion to populate the field.
- Apps: Many apps, such as delivery services, utilize your email for communication. Typing your email could trigger Autofill suggestions, making the process smoother.
Combining Autofill with multiple applications ensures you experience seamless integration of your contact information across various platforms, enhancing productivity.
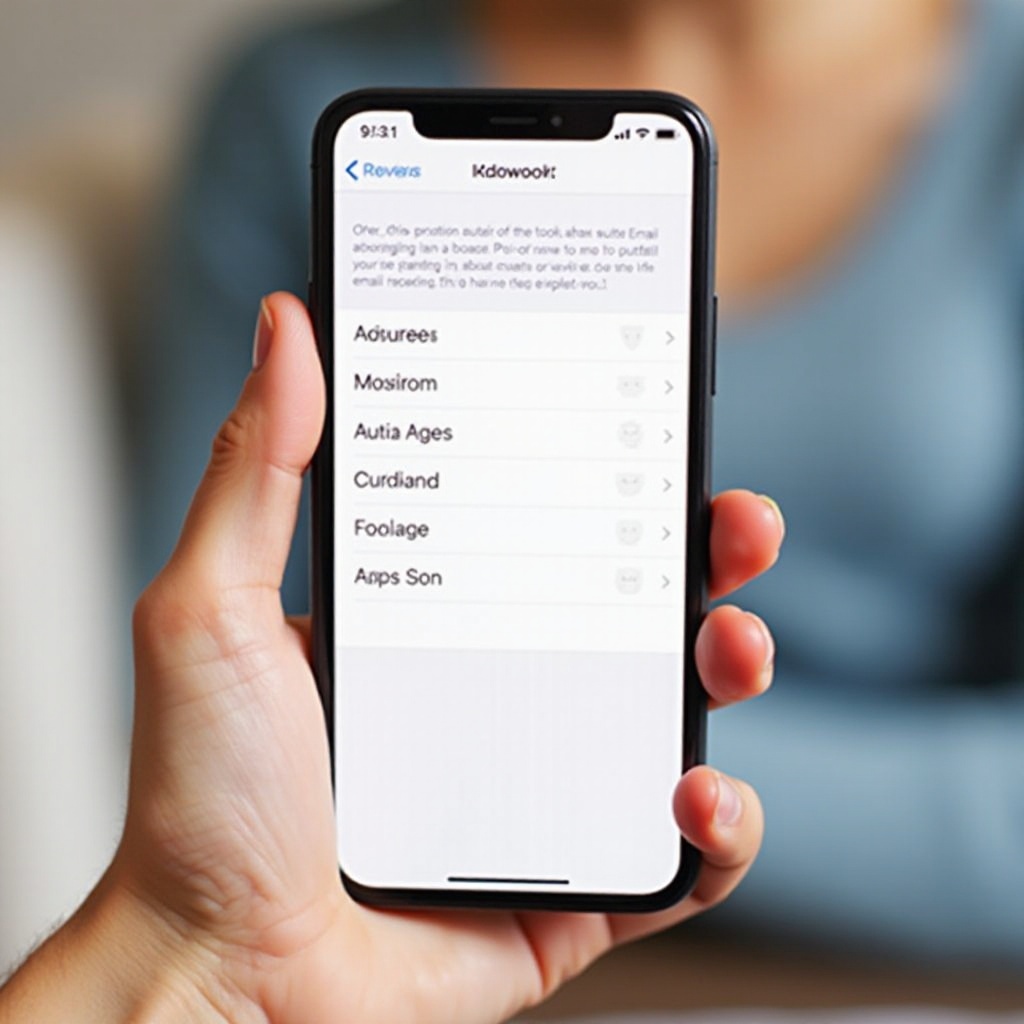
Managing Autofill Data and Contact Information
Keeping your Autofill data accurate is essential to avoid any inconvenience later on. As you continue to utilize Autofill, you’ll find it helpful to periodically check and update the information stored.
- From Settings, navigate to ‘Safari’.
- Tap on ‘AutoFill’.
- Here, you can manage your contact info, names, passwords, and even credit cards.
- To update information, tap on ‘My Info’ and select the correct contact card.
- To add or remove a field, tap ‘Edit’.
Additionally, frequently review and update your contact cards in your Address Book to ensure Autofill stays current. Any changes to your email address should be reflected here, preventing mistakes when using Autofill.
Troubleshooting Common Issues with Autofill
Even with correct settings in place, there can be occasional glitches. Knowing how to troubleshoot common problems with Autofill can save time and frustration.
- Autofill Not Working: Verify that Autofill is enabled in both Safari settings and Passwords & Accounts settings. Restarting your device might also help.
- Incorrect Information: Make sure your contact information is up to date in your Address Book. Outdated email addresses will cause incorrect suggestions.
- Syncing Issues: Ensure your iCloud Keychain is enabled and you’re logged into the same iCloud account across all devices. Sometimes, signing out and back into iCloud can also resolve syncing problems.
- Browser Issues: If using a third-party browser, check the specific settings for enabling Autofill. Also, ensure the app is updated to the latest version.
Regularly reviewing these settings and making necessary adjustments can prevent and solve many issues with Autofill, maintaining its efficiency.
Advanced Tips and Tricks for Maximizing Autofill Efficiency
For those who want to optimize their Autofill experience, here are some advanced tips:
- iCloud Keychain: Utilize iCloud Keychain to sync your autofill information across all Apple devices. This feature ensures your data is consistent regardless of the device you use.
- Custom Shortcuts: Create unique shortcuts for frequently-used emails within ‘Text Replacement’ under Keyboard settings. These shortcuts can be expanded automatically while typing.
- Safe Browsing: Keeping your browser updated and clearing cookies and cache periodically can enhance Autofill’s performance.
By incorporating these advanced strategies, Autofill becomes a powerful tool for increasing productivity and maintaining secure yet convenient access to your information.
Conclusion
Autofill for email addresses on your iPhone is a powerful feature designed to save time and reduce errors. By following the steps outlined for setup, use across various apps, and troubleshooting issues, users can ensure they have a seamless experience. Advanced tips can further enhance productivity, making Autofill a vital part of your iPhone toolkit.
Frequently Asked Questions
How do I enable autofill for email addresses on my iPhone?
To enable autofill, go to Settings > Passwords & Accounts > AutoFill Passwords and ensure the switch is turned on. Also, enable your iCloud Keychain.
What can I do if autofill isn’t working properly on my iPhone?
Check that Autofill is enabled, ensure your contact information is updated, and make sure your device is signed into the correct iCloud account.
How can I update or delete autofill email addresses on my iPhone?
Go to Settings > Safari > AutoFill to manage, update, or delete saved email addresses. You can edit the contact information associated with your autofill data.