Introduction
Learning how to open a Magic Mouse can empower you to tackle a range of issues from connectivity glitches to battery replacements. This sleek and minimalist device, famed for its cutting-edge design, can sometimes require internal maintenance. Whether you want to address a specific problem or simply clean it for optimal performance, this step-by-step guide will help you navigate the process with ease.

Understanding Your Magic Mouse Model
Before starting the disassembly, it is critical to determine your Magic Mouse model. Apple has released two main models: Magic Mouse 1 and Magic Mouse 2. The first model uses replaceable AA batteries, whereas the second model is equipped with a built-in rechargeable battery featuring a Lightning port for charging. Identifying your model is straightforward; simply check the label at the device’s base.
Grasping the differences between these models ensures you adopt the right approach. Magic Mouse 2, for instance, necessitates extra caution due to the non-replaceable battery. Once aware of your model, you’ll be better prepared to select the appropriate tools.
Tools Needed for Opening Your Magic Mouse
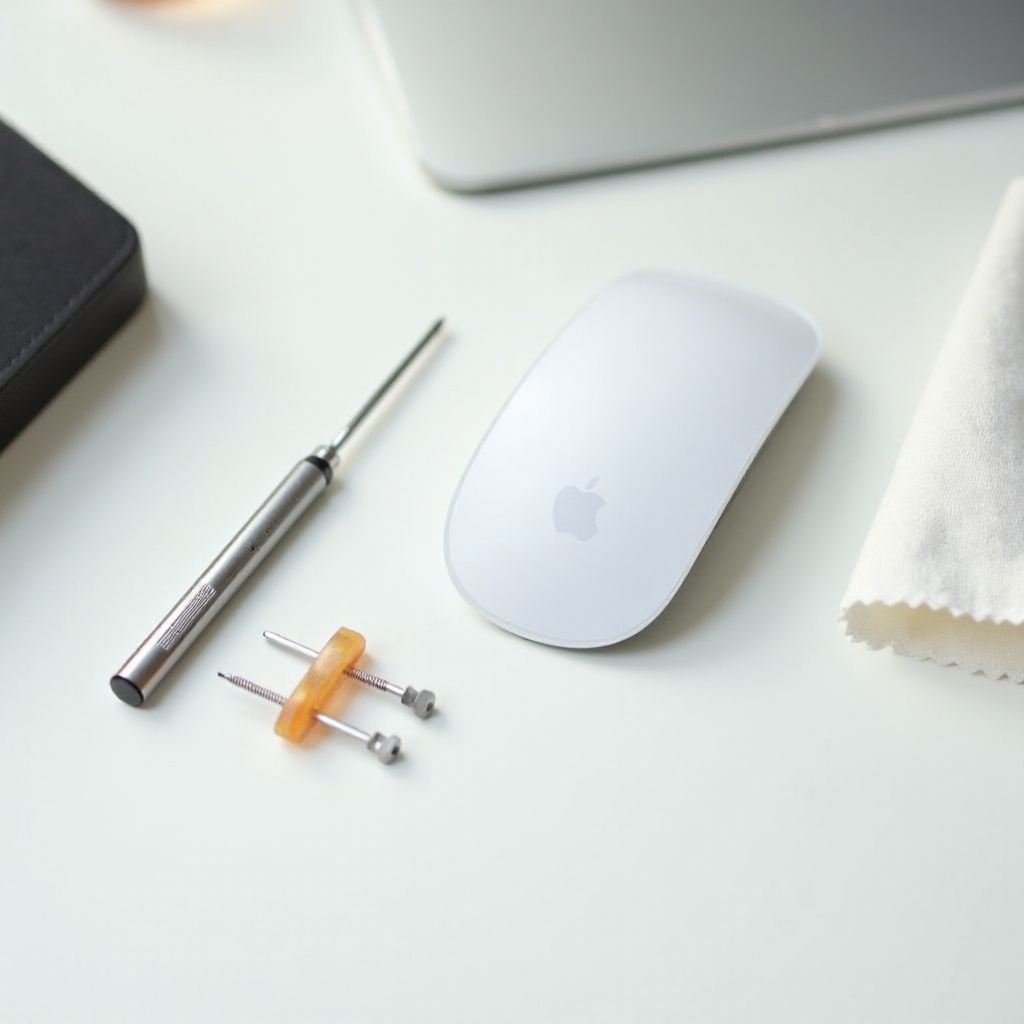
Equipping yourself with the proper tools is an essential step to avoid damaging your Magic Mouse. Prepare the following items before you begin:
- Plastic Spudger or Opening Picks: Essential for prying open the casing smoothly without leaving marks.
- Small Screwdriver Set: Necessary for unscrewing any internal fasteners.
- Tweezers: Useful for handling delicate components inside the device.
- Microfiber Cloth: Ideal for cleaning dust and debris from internal parts.
With these tools on hand, you’re ready to set up your workspace and embark on the disassembly process.
Preparing Your Workspace for Disassembly
Setting up a conducive workspace is vital for a successful disassembly. Here’s how you can prepare:
- Select a Clean, Well-Lit Area: Adequate lighting and a clean environment help manage small components effectively.
- Use an Anti-Static Wrist Strap: This prevents static electricity from potentially harming electronic components.
- Lay Down a Soft Surface: A cushioning mat or cloth protects both your workspace and the Magic Mouse from scratches.
Once your workspace is ready, you can follow the steps to open your Magic Mouse with precision.
Step-by-Step Guide to Opening the Magic Mouse
Disassembling a Magic Mouse requires patience and care. Follow these instructions to open it safely:
- Remove the Battery Cover: For Magic Mouse 1, slide off the battery cover and take out the batteries. Ensure Magic Mouse 2 is powered off.
- Utilize the Plastic Spudger: Carefully insert the spudger into the seam between the upper and lower casings. Apply gentle pressure to disengage the clips.
- Detach the Upper Case: Continue working around the seam with your spudger until the upper case lifts easily. Avoid excessive force to prevent damaging clips.
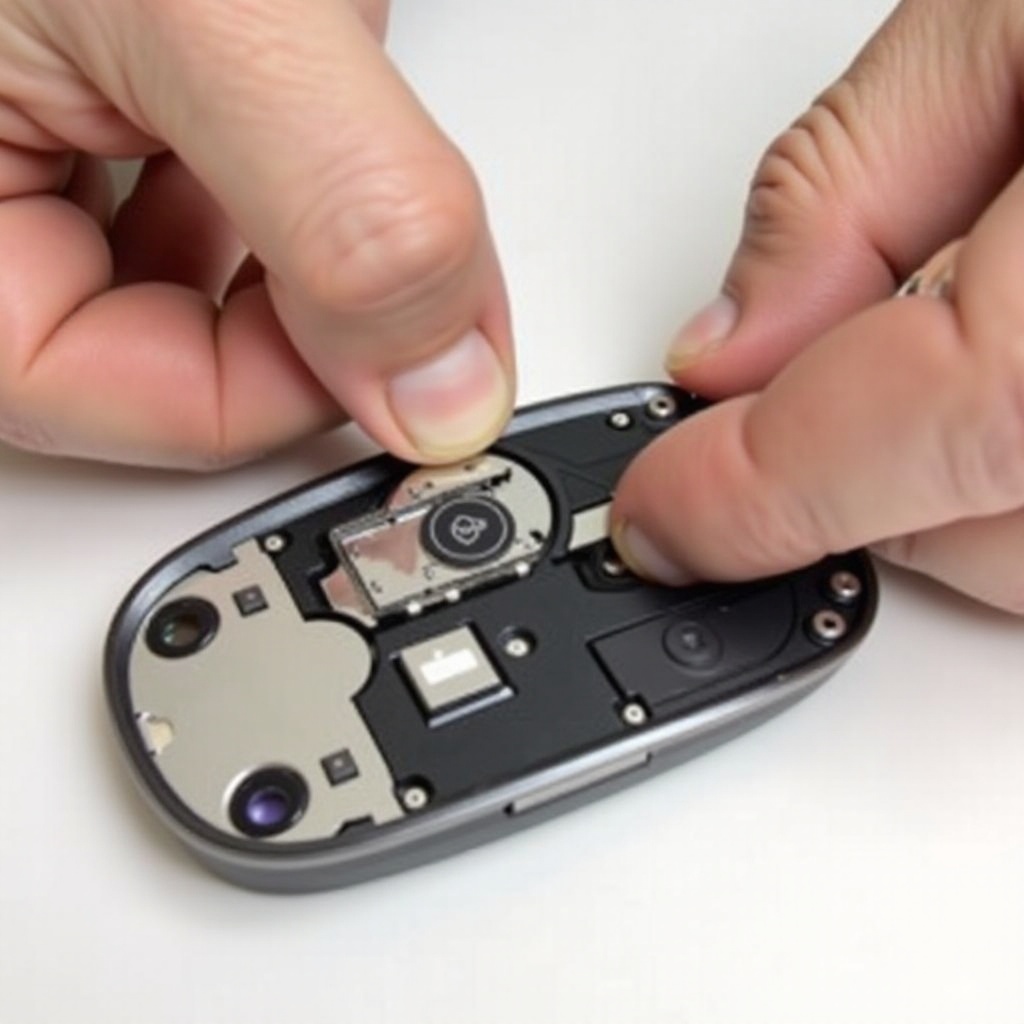
- Lift the Upper Casing: Once separated, gently lift the upper casing to expose the internal components.
- Identify Internal Parts: Note the positions of the circuit board, scroll mechanism, and connectors. Keep track of these for accurate reassembly.
With the device open, you’re now ready to troubleshoot and resolve any internal issues.
Troubleshooting Common Issues After Opening
Once your Magic Mouse is open, it’s time to address potential issues:
- Connectivity Problems: Check for dusty connectors or loose wires. Use a microfiber cloth to clean and secure all connections.
- Battery Replacement: For Magic Mouse 1, simply replace the batteries. If Magic Mouse 2’s battery is faulty, consider professional service for replacement.
- Scroll Malfunctions: Gently clean the scroll sensors using a microfiber cloth to restore smooth scrolling.
Successfully troubleshooting these issues ensures your Magic Mouse works seamlessly.
Reassembling the Magic Mouse Correctly
After resolving issues, the next critical step is reassembling your Magic Mouse:
- Align the Upper Casing: Carefully position the upper casing over the base, ensuring all internal parts are secure.
- Press the Casing Together: Gradually press the casing, starting from the bottom. Listen for the clips to snap into place.
- Test the Device: Before fully securing, power on the device and test its connectivity and other functions to confirm successful reassembly.
Proper reassembly results in a fully functional device with minimal risk of damage.
Maintenance Tips to Keep Your Magic Mouse in Top Shape
To prolong your Magic Mouse’s lifespan, perform regular maintenance. Consider these tips:
- Routine Cleaning: Wipe the exterior with a microfiber cloth weekly to avoid build-up of dirt and grime.
- Avoid Rough Surfaces: Use the mouse on smooth, protective mouse pads to prevent wear.
- Regular Charging: For Magic Mouse 2, ensure it’s charged consistently to sustain battery health.
These preventive measures help your Magic Mouse maintain peak performance over its lifetime.
Conclusion
While opening a Magic Mouse might initially seem challenging, it’s an attainable task with the correct tools and proper guidance. Whether cleaning, troubleshooting, or repairing, following these steps ensures that your Magic Mouse remains in top condition. With care and attention, you can manage your device’s performance effectively, providing a smooth user experience.
Frequently Asked Questions
Can opening my Magic Mouse void its warranty?
Yes, opening your Magic Mouse may void its warranty. Always check warranty terms or consult Apple support before disassembly.
What should I do if my Magic Mouse still doesn’t work after opening it?
If issues persist after opening and troubleshooting, consult a professional repair technician or contact Apple support for further assistance.
Are there any alternatives to opening my Magic Mouse for troubleshooting?
Before disassembly, try resetting your device, adjusting Bluetooth settings, or updating your software to resolve minor issues.