Introduction
Sticky buttons on your Xbox controller can severely impact your gaming performance. This issue, caused by accumulated grime or spills, leads to unresponsive gameplay at crucial moments. By understanding and solving this common problem, you can regain full functionality and upkeep your controller for smoother gaming sessions. Here, we provide a comprehensive guide to troubleshoot and fix those sticky buttons effectively.
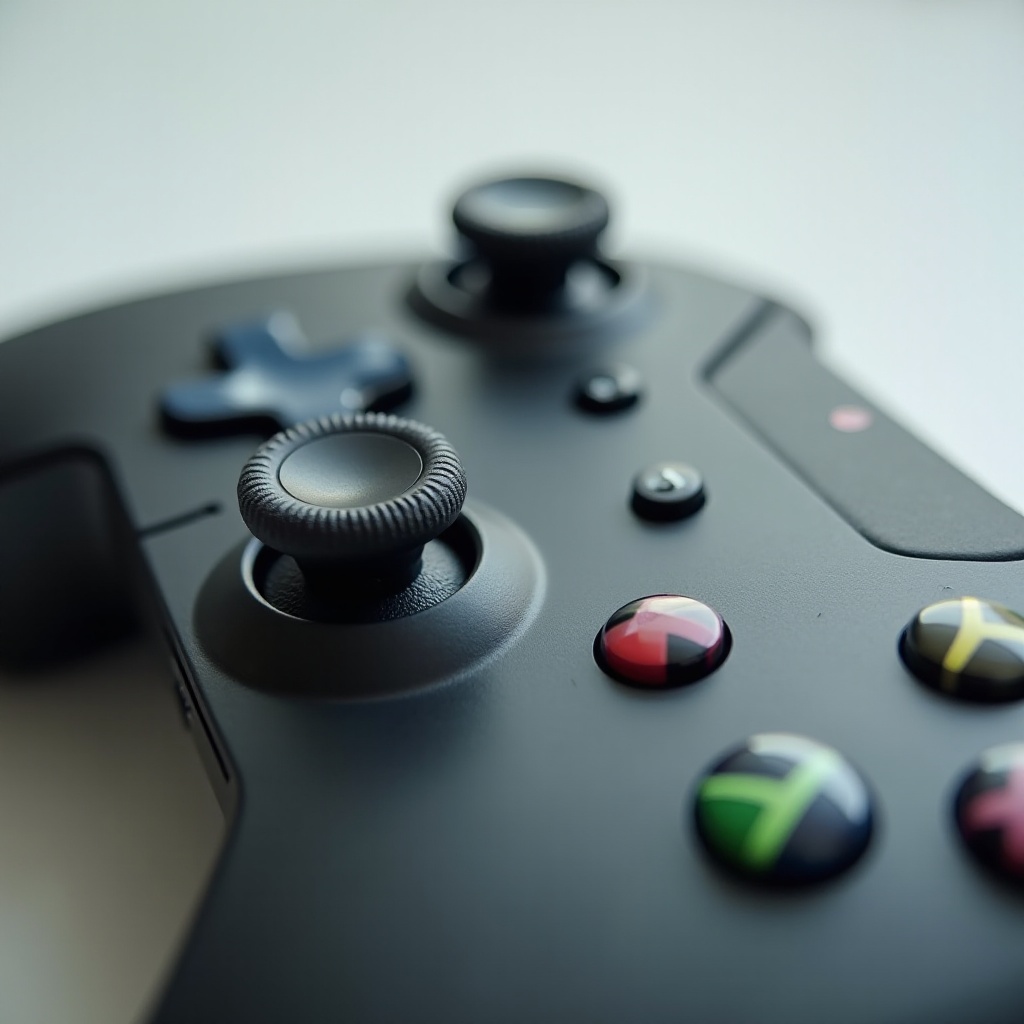
Understanding Sticky Buttons Issue
Sticky buttons often arise from everyday use, where dirt, dust, and residue accumulate around and under the buttons. This leads to a lack of responsiveness and a frustrating gaming experience. Understanding this common issue is the first step towards a solution. Identifying the cause allows you to adopt the correct cleaning techniques tailored to restore the buttons’ response.
Preparing for the Fix
Before delving into the cleaning process, gather the essential tools and materials. Proper preparation ensures efficiency and thoroughness without interruptions. Required items include:
– A small Phillips screwdriver
– Isopropyl alcohol (70% or higher)
– Cotton swabs or Q-tips
– A soft microfiber cloth
– Compressed air canister (optional)
Prepare a clean and organized workspace, and ensure your controller is disconnected from any device for safety.

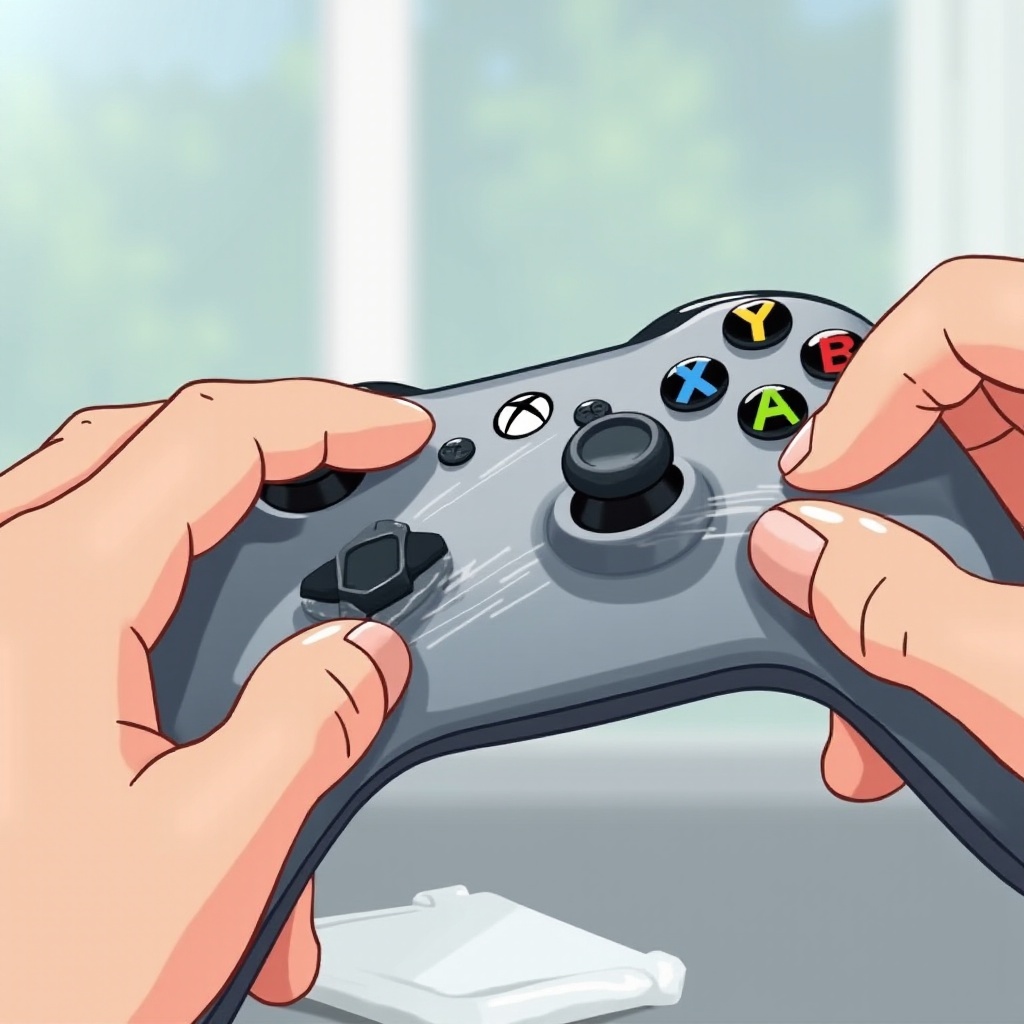
Step-by-Step Guide to Fixing Sticky Buttons
Tackling sticky buttons involves external and internal cleaning. Here are the steps:
-
Initial Cleaning
Start with a surface clean using the microfiber cloth. For visible grime around the buttons, gently use a cotton swab with isopropyl alcohol to lift dirt and sanitize the area. -
Disassembling the Controller
Carefully undo the screws with a Phillips screwdriver. Keep the screws safe to avoid misplacement. Gently open the casing to reveal the internal components. -
Deep Cleaning the Buttons
With the casing open, utilize cotton swabs dipped in isopropyl alcohol to clean inside the button openings. Let the alcohol dissolve any sticky residues. Using a compressed air canister, blow out loose debris. -
Reassembling the Controller
After ensuring all components are dry, reassemble the controller by closing the casing and securing the screws. Test the buttons for response and smoothness to ensure successful cleaning.
Preventive Measures for Long-Lasting Performance
Now that your Xbox controller is back in action, it’s essential to maintain it effectively. Simple habits can prevent future stickiness and prolong its life:
– Regularly clean with a dry cloth to avoid buildup.
– Minimize eating and drinking around your gaming area to prevent spills.
– Store your controller in a dust-free area.
– Consider protective covers to shield from dust.
Maintaining these habits ensures your controller stays in excellent condition and extends its lifespan, creating more enjoyable gaming experiences.
Conclusion
Fixing sticky buttons on your Xbox controller is straightforward with the right approach. Regular maintenance and preventive measures ensure your controller operates at its best, providing responsive gameplay without interruptions. Through understanding the issue and consistent care, you maintain a smooth, hassle-free gaming journey.
Frequently Asked Questions
What should I do if my Xbox controller buttons are still sticky after cleaning?
If the buttons remain sticky, re-evaluate your cleaning process for thoroughness. Ensure proper use of isopropyl alcohol. If problems persist, it may be best to consult a professional.
How often should I clean my Xbox controller?
For optimal performance, clean your controller every few months. If used frequently or shared with others, more regular maintenance might be necessary.
Can I use household cleaners to clean my Xbox controller buttons?
Avoid household cleaners as they often contain harsh chemicals. Isopropyl alcohol is recommended for safe and effective cleaning.